October 13, 2011

A Symbol of Hope


A couple of Christmas's ago we gave some money to a young couple to help with medical expenses associated with the treatment of the wife's breast cancer.  It went into remission not long after.  Last night I learned that it is back and the cancer has spread.  I personally don't know this woman, but my heart breaks for her.  She is young-in her 20's.  She is a mom to 2 little ones.  I can't even begin to imagine what she must be going through.  

Since October is National Breast Cancer Awareness Month, I thought I would help spread the word.  I have been following The Project Queen for the past few weeks as she has posted something pink as well as a breast cancer fact every single day.  Did you know that on average, 112 women die from breast cancer every day?! EVERY DAY!  That is an alarming number!  Early detection is key to fighting and beating this malicious disease. If you are a woman, (no matter your age) check your breasts regularly!  And if you are 40 or over, it is recommended that you get a mammogram every 1-2 years.  The most common signs of breast cancer are: a lump in the breast; abnormal thickening of the breast; or a change in the shape or color of the breast.  Check them often, ladies!

In lieu of this special month, I made a little something.  And it's pink: 


In hopes that women everywhere will make breast exams a part of their preventative healthcare.


And that someday a cure will be found!

The Hope Scarf is such a simple design.  The most beginner of beginning sewers can pull it off easily.  I encourage you to make one and spread the word!

Materials:
-1/2 Yd Pink Jersey Knit Fabric
-Scissors
-Thread
-Sewing Machine

Step 1:  Cut It
Cut your fabric in half lengthwise.

Step 2:  Sew the 2 Pieces Together
With right sides together, pin 2 of the short ends to each other.  Sew with 5/8" seam allowance.

Step 3:  Adjust the Length
Try it on.  Adjust the length to your liking with a few snips.  I cut about 12 inches off mine.  No need for finishing the raw edges because they won't fray!  

If you don't sew, no sweat!  You can still "make" one.  Simply go the fabric store and get a 1/2 yard of jersey knit fabric and drape it stylishly around your neck.  Same thing, but a little chunkier and just as cute!  

Hugs to all you women out there fighting breast cancer.  My hope and prayers are with you!

*update:
The Hope Scarf could be YOURS!  I have whipped up another one and will be participating in One Artsy Momma's "Un-giveaway for the Cure", which is basically a silent auction.  The scarf will be given to the commentor who bids the highest amount.  All proceeds will go directly to The Susan G. Komen Foundation.  Come back Wed, Oct. 19 for your chance at The Hope Scarf!

CLICK HERE TO MAKE A BID


October 10, 2011

Candy Corn Bunting {With Real Candy Corn!}

Pour yourself a bowl of delicious candy corns,


 and get stringing...


for an edible Halloween bunting.
*Not guaranteed to last.

To make this bunting, I took a push pin and made a hole near the top of several candies.  I then threaded a needle with regular thread and strung them on.  (May cause a stomach ache if you are anything like me and you eat more than you string!)

October 6, 2011

Halloween Decor: Mummies

Why is the mummy so tense?


Because he's all wound up!


Why were ancient Egyptian children confused?


Because their daddies were mummies!

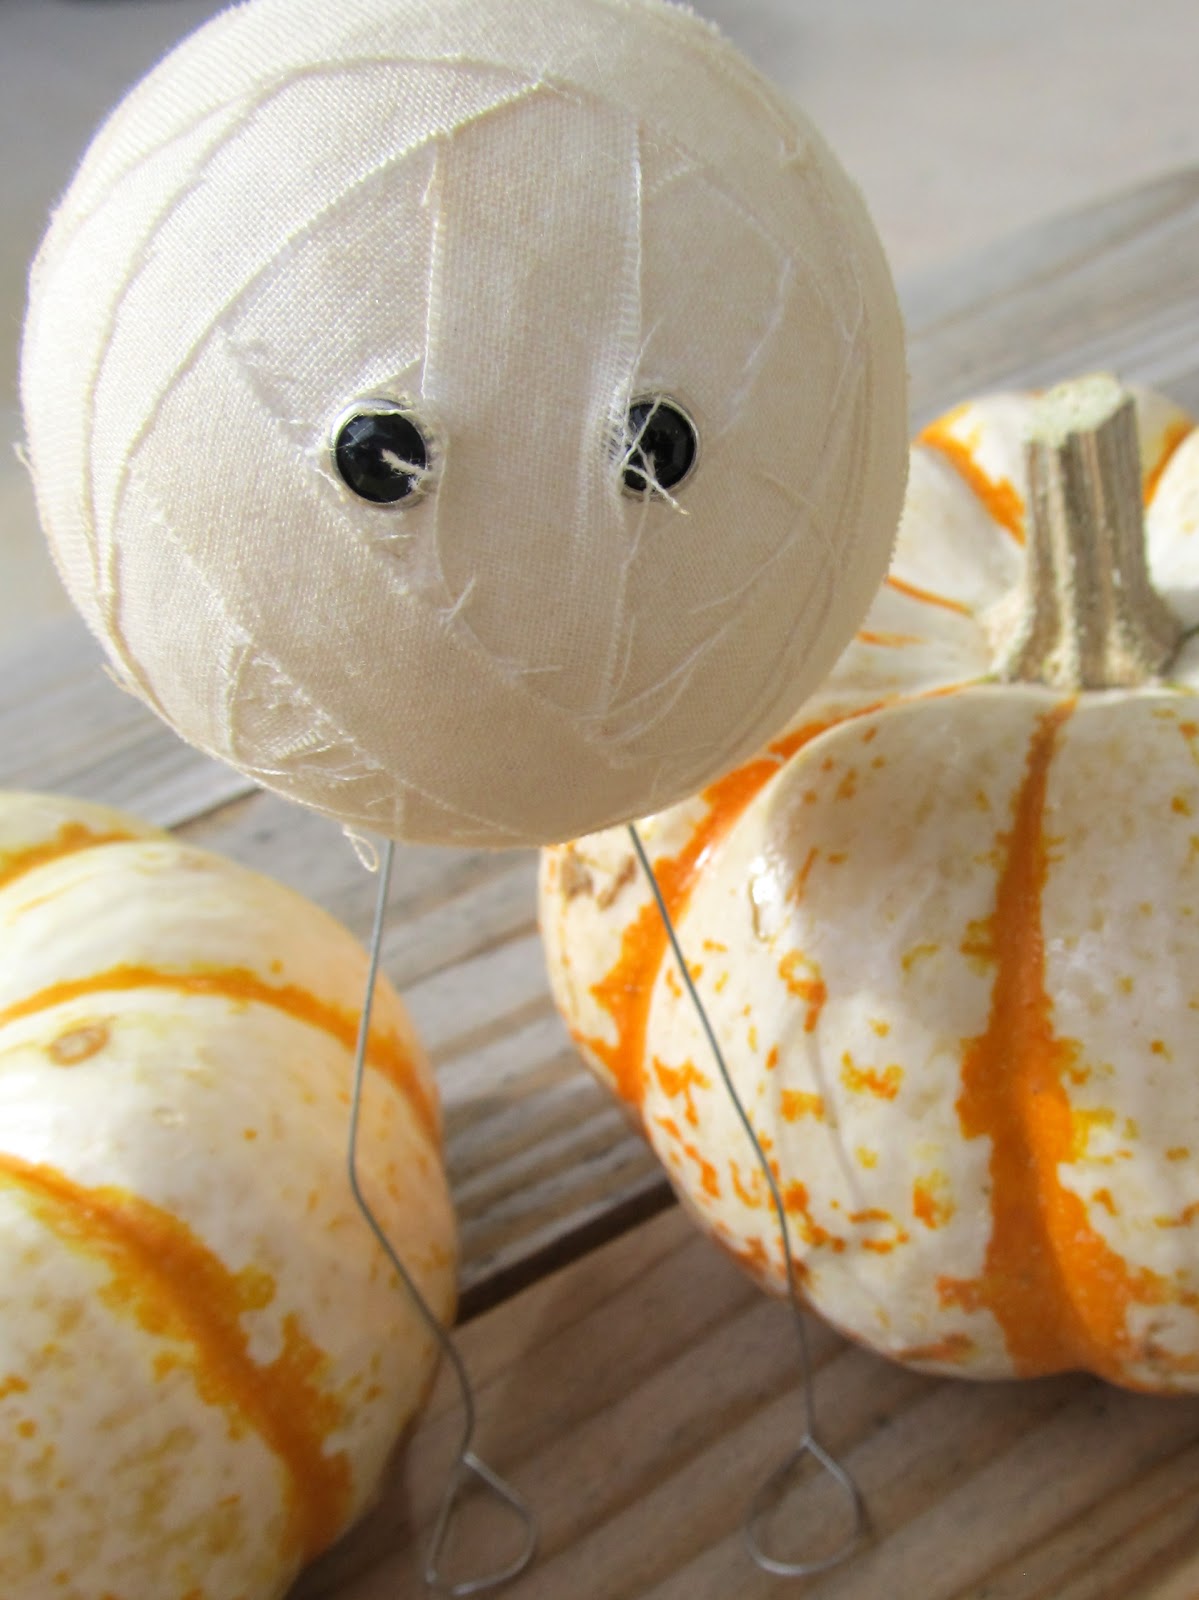
To make some mummies of your own, gather the materials listed below and follow the 4 simple steps.

Materials:
-styrofoam balls (any size)
-1/4 yd muslin
-eyelets/brads
-tea bag
-spray bottle
-22 guage floral wire
-glue

Step 1:  Prepare the Tea
Boil one cup of water in a small saucepan.  Turn off heat and place tea bag in the water.  Leave to cool.  You will use this later to spray the mummy.

Step 2:  Insert Eyes and Legs
Take a styrofoam ball and insert 2 eyelets or brads between the middle and top of the ball.  For extra hold, dab them in a little glue before inserting.  For the legs, cut 2 pieces of wire (however long you want the legs to be) and bend one end of each wire into an oval.  Stick them into the bottom of the ball.

Step 3:  Wrap It
Cut 3/8" wide strips of muslin and begin wrapping the ball until it is covered, going around the eyes and legs. Use glue to adhere the ends of the strips onto the ball.

Step 4:  Spray the Mummy
Remove the tea bag and pour the tea into a spray bottle.  Spray the mummy lightly and let dry 10-15 minutes.  It will look spotty at first, just spray it again once it is dry.  Repeat until desired color is achieved.

Have fun getting into the Halloween spirit by decorating with these cute and easy mummies!

I'm linking up to:

Visit thecsiproject.com

October 3, 2011

I'm a COLOURlover: Halloween Inspired Color Palettes

I'm pulling out the Halloween decorations today and will be making some new ones to add to them this week.  I've created several color palettes to get my wheels turning.


I know there will be lots of orange.  And how about some white and gray? 


Of course there will be little splashes of green and purple.


Mix them all together and you have Halloween.  What colors will you be using this spooky season?
Want to make your own color palettes?  Check out COLOURlovers.  You won't be disappointed.

September 29, 2011

Birthday Party: One Year Old in a Flash


What an exciting year it has been!  I never dreamed parenting would be so fulfilling, trying, or fun.  It has changed my life in so many positive ways.  I am so grateful for the chance to be a mom to this beautiful, healthy baby.  She is so loved. 
We celebrated Jayna's birth and this past year with a picture themed party.  I have Stacy at Elle Belle Creative to thank for the awesome idea. 


We invited friends and family to come for fun, photos, and food.  I knew I would want need to get someone (let's be honest, I am no photographer!)  to come take pictures so I hired Christal Anderson and she did a great job.  I was able to really enjoy the party and not worry about snapping photos.  And they turned out way better than any I would have taken so it was totally worth the money.  She arrived early and we got some of just the three of us and then she manned the "photo booth" as well as took candid shots throughout the party.


The trunk Jayna is sitting on is her time capsule.  We suggested that in the place of a gift, people bring a newspaper clipping, predictions about the future, letters, or photos to put in a time capsule that she will open on her 18th birthday.  I love this idea and am going to do it for all of our future kiddos.  I already have a suitcase I want to use for Calvin (yes I have already named our unborn, unconceived son).  I saw it at the thrift store and thought it would be perfect.  Am I crazy?  It was a good deal and I love it.  Anyways, Jayna got lots of fun stuff in her capsule: lots of letters, including a 5 pager from her Great Grandma whom she is named after, a cd of popular music from the past year, a movie and a book, and some other stuff!  I don't want to spoil it for her in case someday she reads this, but you get the gist.  
The photo booth was fun for both young and old alike.  I simply hung up a gray twin size flat sheet for the backdrop and made a few photo props.  You can find a tutorial for my giant bow ties here.


The chub-a-wub loved her giant cupcake as you can tell by how much she ate!  
There was a cupcake bar for the rest of us with frosting, nuts, sprinkles, and gummy bears.  


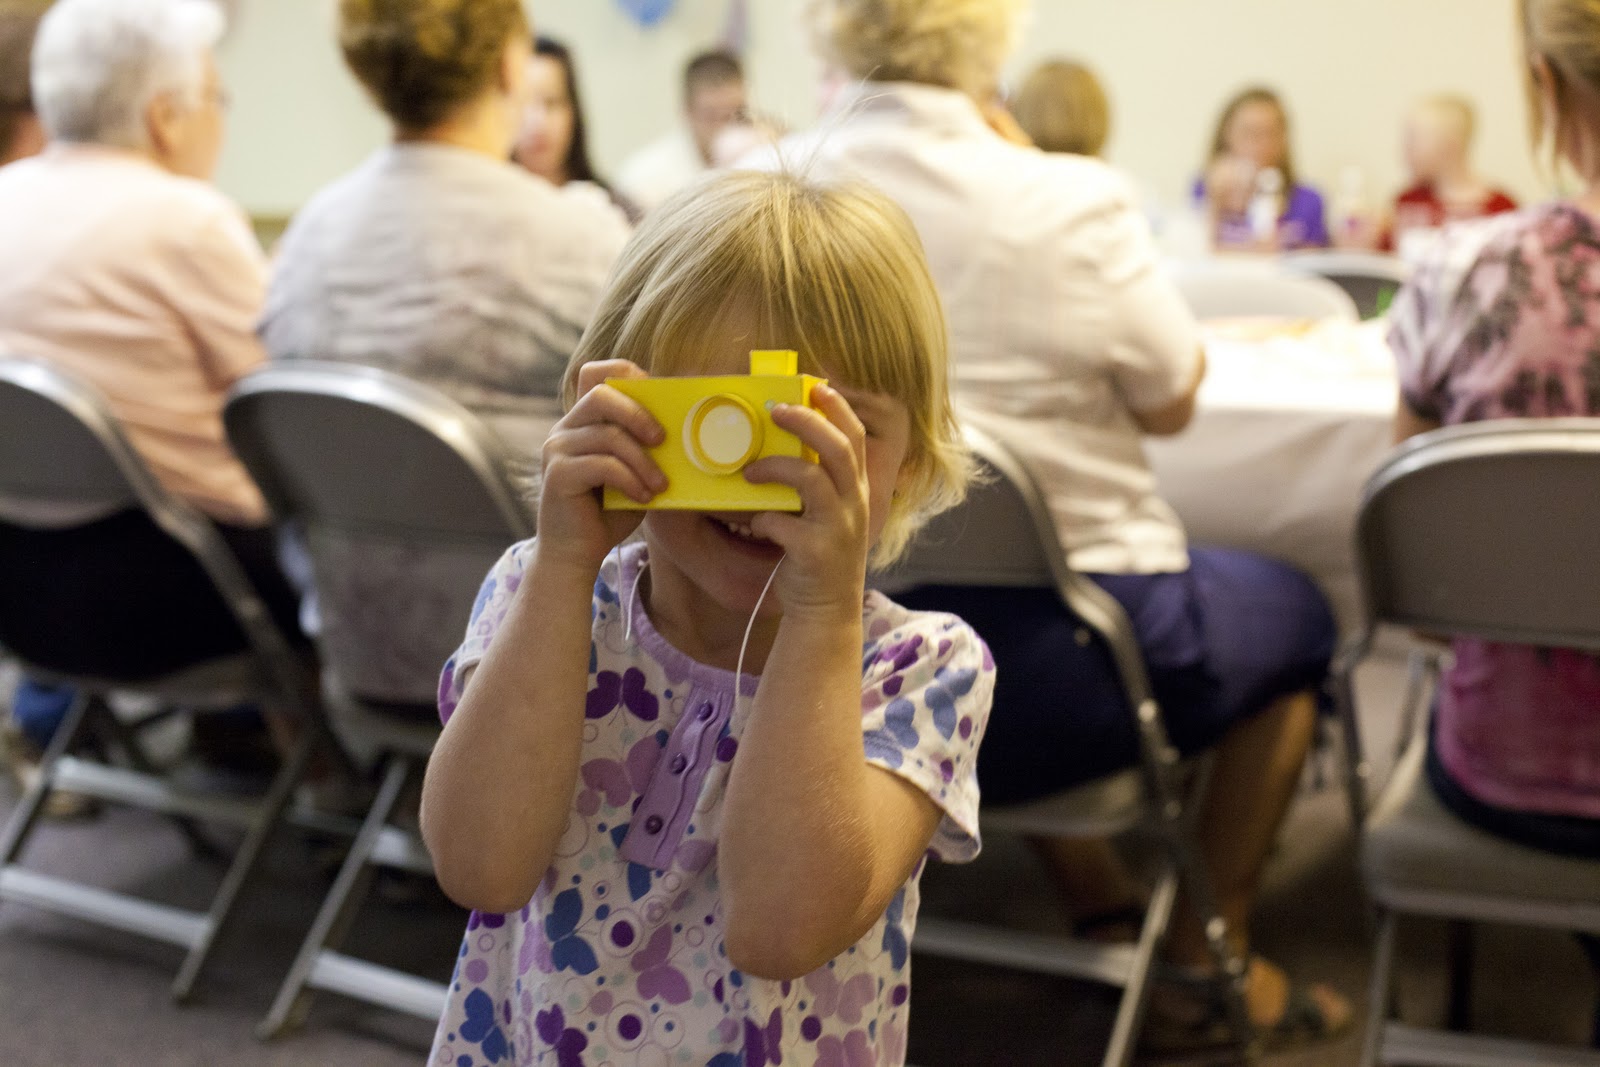
And for favors each of the kids received a baby box camera.  I bought the PDF for these from Etsy seller Mel Stringer.  They were a bit time consuming to put together, but fun once finished!


This babe is ready to take on the world!  She is such a sweet and silly girl.  We can't wait to see what the future brings!

I'm linking up to the Birthday Challenge at the CSI Project!

Visit thecsiproject.com

September 26, 2011

Beginner Needle Felting: Felted Acorns


This morning I tried needle felting for the first time and made this lovely acorn! If you are not familiar with needle felting it is the process of pushing layers of wool together with a spiky long needle that is ultra sharp, resulting in the layers sticking together.  You don't need many materials and it is very simple, but you do need to be super careful as to not poke yourself!

To get started, gather these items:
wool roving
I bought mine at JoAnn's which didn't have a large selection of colors, but something to start out with.  If you don't mind waiting a few days for it to ship and want more variety, search Etsy.  If you aren't sure what wool roving is or want to know more about it, this link will be helpful:  explanation of wool fibers.
- a felting needle
The link above also provides info on different needles.
- a piece of thick foam or a pillow
This is for your work surface.  I used a pillow and it worked just great!
- acorn caps
If you don't have an oak tree nearby, just purchase some caps.  I paid a whopping $2.00 for 50 at Snorkelbuzz
- a glue gun

Once you've got your supplies, get poking!  Pull a small piece of roving apart, roll it into a ball and start poking.  Poke and poke some more until you like how it looks and it is the shape you want.  For a good visual, watch this video tutorial for felted acorns.  Once you get it to the size and shape you want, hot glue it to an acorn cap and it is ready to be used for anything you can imagine up.  I am thinking a garland or wreath or even just in a bowl as some autumn eye candy.  Only time will tell, I've got 49 more caps to fill!


September 24, 2011

AND THE WINNER IS...


Rita!  Random.org picked #4.  Congratulations to you!  I will be contacting you with further details!

Q:  What is your favorite TV show of all time and what episode?
A:  Psych!!! Hands down my favorite show of all time :)
Q:  What is something on your bucket list?
A:  Travel over seas
Q:  Have any pets?
A:  Yes, one cat, Pepper.  She's been my cat since the 8th grade!
Q:  Are you a beach, country, or city person?
A:  I love the country but I definitely miss living near the beach.  And in no way would I consider myself a city person.

She has an etsy shop where she sells beautiful bags:


and blogs at:


THANKS to all who entered!  For those who didn't win, use code SHIPPING1 for free shipping now through
Oct. 1.  It was fun "meeting" you and I now have shows I need to watch, new blogs to follow, and more
items on my wish list!  
Related Posts Plugin for WordPress, Blogger...