Showing posts with label birthday party. Show all posts

September 29, 2011

Birthday Party: One Year Old in a Flash


What an exciting year it has been!  I never dreamed parenting would be so fulfilling, trying, or fun.  It has changed my life in so many positive ways.  I am so grateful for the chance to be a mom to this beautiful, healthy baby.  She is so loved. 
We celebrated Jayna's birth and this past year with a picture themed party.  I have Stacy at Elle Belle Creative to thank for the awesome idea. 


We invited friends and family to come for fun, photos, and food.  I knew I would want need to get someone (let's be honest, I am no photographer!)  to come take pictures so I hired Christal Anderson and she did a great job.  I was able to really enjoy the party and not worry about snapping photos.  And they turned out way better than any I would have taken so it was totally worth the money.  She arrived early and we got some of just the three of us and then she manned the "photo booth" as well as took candid shots throughout the party.


The trunk Jayna is sitting on is her time capsule.  We suggested that in the place of a gift, people bring a newspaper clipping, predictions about the future, letters, or photos to put in a time capsule that she will open on her 18th birthday.  I love this idea and am going to do it for all of our future kiddos.  I already have a suitcase I want to use for Calvin (yes I have already named our unborn, unconceived son).  I saw it at the thrift store and thought it would be perfect.  Am I crazy?  It was a good deal and I love it.  Anyways, Jayna got lots of fun stuff in her capsule: lots of letters, including a 5 pager from her Great Grandma whom she is named after, a cd of popular music from the past year, a movie and a book, and some other stuff!  I don't want to spoil it for her in case someday she reads this, but you get the gist.  
The photo booth was fun for both young and old alike.  I simply hung up a gray twin size flat sheet for the backdrop and made a few photo props.  You can find a tutorial for my giant bow ties here.


The chub-a-wub loved her giant cupcake as you can tell by how much she ate!  
There was a cupcake bar for the rest of us with frosting, nuts, sprinkles, and gummy bears.  


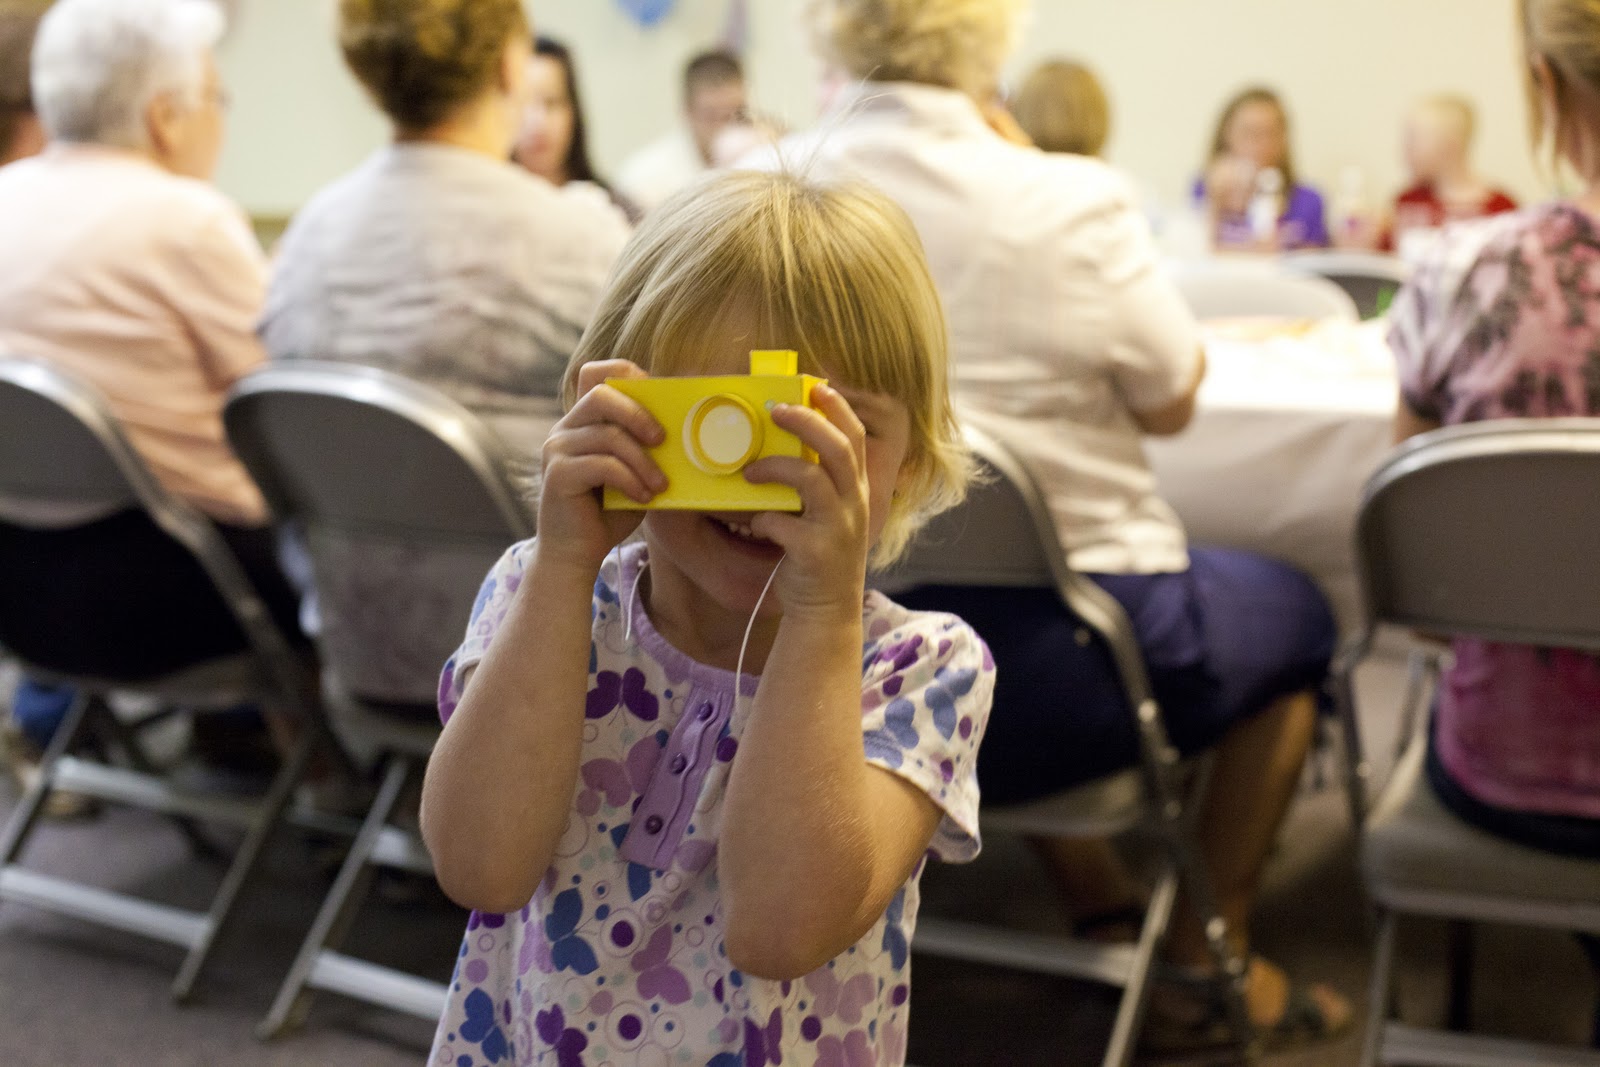
And for favors each of the kids received a baby box camera.  I bought the PDF for these from Etsy seller Mel Stringer.  They were a bit time consuming to put together, but fun once finished!


This babe is ready to take on the world!  She is such a sweet and silly girl.  We can't wait to see what the future brings!

I'm linking up to the Birthday Challenge at the CSI Project!

Visit thecsiproject.com

August 10, 2011

A Birthday Bib

Jayna will most definitely need this for the cake smash!
This was my first-ever attempt at making a bib.  I wasn't exactly sure what I wanted it to look like other than the 1.  The ruffle just sort of came to me as I got going.  I simply traced one of her bibs onto my fabric and went from there.  If I had more time I would make another one and take into account seam allowances.  This one fits but is just a wee bit smaller than I would like.  It will work though!

August 8, 2011

Giant Bow Ties as Photo Booth Props

Today I started making props for the party's photo booth.  First on the list were giant bow ties!  I got the inspiration from Grey Luster Girl.
One for Papa Bear, Mama Bear, and Baby Bear.
These are seriously SO easy!!  It's almost a no-sew project and you can put one together in 20 minutes or less. 
Materials:
- a fabric quarter
- piece of steam-a-seam
- fold over elastic (14" per tie)
- velcro

The How-To:

A fabric quarter was just the right amount of fabric for the biggest bow, so you will have some fabric left over if you make the mama or baby ties.   I'm going to give you the dimensions for the baby bow tie and you can adjust them  by 2 inches for the mama or 4 inches for the papa.

Step 1:  Iron your fabric quarter and cut a rectangle 10 1/2" X 9" and a square 3 1/2" X 3 1/2".
Step 2:  Cut a 3 3/4" X 9" piece of Steam-A-Seam

Step 3:  Take your large rectangle of fabric and iron the edges of the shorter sides over, toward the middle.  Then iron the edge of one of the longer sides toward the middle. 

Step 4:  Place your Steam-A-Seam in the middle of your fabric rectangle. 

Step 5:  Fold over the unfolded edge first and then the folded edge so your rectangle has a finished look.  Place a damp washcloth on the fabric and press your hot iron on top for 15 seconds.  Do this to the entire rectangle.  This will result in the fabric stiffening.

Step 6:  Sew along the short edges of the rectangle.

You are done with the main portion of your tie.  Now we will make the band that goes in the middle of the tie.  Grab the small fabric square you already cut.
Step 7:  Fold over the edges of 2 opposite sides.  Then fold in half, hamburger style, with right sides together.  Sew along the edge.
Step 8:  Turn inside out.  Take the main portion of the bow tie and fold accordion style.  Slip the band onto the middle and you are just about done!


Final Step:  Cut a piece of fold-over elastic to measure 14".  Sew a small piece of Velcro to each end and slip through the back side of your bow tie.


August 1, 2011

Knotted Fabric Strip Banner


I've been seeing these types of banners all over the place!  I love them, so I made one for the big party

     If you would like to make one too, you will need the following materials:   
  • 1 yard of fabric (divide that by however many different colors you want)
  • 3 yards of thick string
  • scissors

Then just follow these steps:


A fun banner, perfect for lots of occasions.

July 27, 2011

1st Birthday Party - Invitations

I say it every 26th.  "I can't believe she's another month old!"  As of yesterday Jayna is one month shy of turning a year old!  And we just pushed her birthday party 2 weeks earlier so it is crunch time!  I've got the invitations all printed and pretty much ready to go besides postage so they will be in the mail today!  I am having so much fun planning this party!  Thanks to Pinterest, I came across the perfect theme: One Year Old in a Flash.  Stacy at Elle Belle Creative threw her daughter an awesome party that I am borrowing LOTS of ideas from.  I saw her invitations and I tried to create something similar, but with my own style.  It didn't really work out.  My creative juices just weren't flowing so they turned out pretty much the same and I love them!


Since I don't have any fancy software, I turned to my trusty Microsoft PowerPoint to create them.  I got the camera and filmstrip from an online scrapbook store, here.  And I downloaded a couple of the fonts for free from dafont.com.  It was a little tricky getting those pictures to fit in the filmstrip though.  Lots of trial and error, glad that's over with.


This is the insert I included with the invitations.  I love the idea of a time capsule and am really excited to see what people bring!  I also thought it was a nice alternative to bringing a gift.

A couple of notes on printing:  
  • Save your document as a PDF to get a clear printout when using Microsoft PowerPoint.
  • I copied and pasted so that there were 2 5X7 invitations on 1 8X10 sheet, and 5 3X5 inserts on 1 8X10 sheet.  This will save you $$ when you print them.
  • Before printing all of them I tested on different types of paper.  They looked the same hot off the printer, so I ended up ordering the gloss.  When I got home I liked the matte finish better.
Stay tuned for more party details!  The next few weeks will be jam-packed!!
Related Posts Plugin for WordPress, Blogger...