August 29, 2011

Printing On Burlap: Laundry Sign


Have you tried printing on fabric yet?  So fun and easy!  I love how this burlap laundry sign turned out.  All I did was sprayed some adhesive onto a sheet of printer paper, stuck a piece of burlap to it, trimmed it and sent it through the printer.  And I used this free printable.  Stuck it in a frame without the glass and voila, inexpensive cute decor!

August 27, 2011

The Stache Party: Burp Cloths

Stephanie over at My Li'l Pumpkin Patch is hosting her first Stache Party.  For all the details, check out her blog.    Basically you just create something from your stash of crafting supplies or finish an unfinished project and she posts a picture and a link to your blog!  What a great idea!
Today I reduced my stash of flannel and cloth diapers by making a couple of burp cloths.
 Jaime at Sew She Sews has a burp cloth tutorial that I love to use.  These are super easy and make a great gift.  I love their size and thickness.  I just wish I would have discovered her tutorial before I had Jayna, she was such a spitter.  At least I will have them for the next baby!

August 23, 2011

In Over My Head!?

It really doesn't look that bad, does it??
I have seriously considered leaving it like this.  That's how much I dislike the whole process of refinishing furniture.  It's just so much WORK!!  If the end result wasn't so worth it (at least it better be so worth it) I would never have started.  I began this project back in June after my husband gave me a sander for Mother's Day and haven't seemed to muster up the motivation to continue.  But summer is fading fast and soon enough it will be too cold outside to work on it, so finish it I must.
The main reason I am doing this is so that it will match the rest of the kitchen.  I don't know what we were thinking when we purchased this set.  We found it on Craigslist and bought it used from a little old man about 40 miles away.  We paid too much and it doesn't even match.  I guess I wasn't design conscious back then. 
 There are some things that I really love about it though.  The top is my favorite. I love how the grains match up to create a totally awesome design.
I also love that it has a glass top to preserve its beauty.  Such a great idea.  I can craft on it and not worry about ruining it!  Or Jayna can knock over her cup of milk, no sweat.  So because I love the top so much I am hoping to do a little something like Elizabeth's farm table over at Blue Clear Sky:
I'll stain just the top of the table the same color as my cabinets and then paint the rest black.
One chair down, 3 more to go plus a table!

August 10, 2011

A Birthday Bib

Jayna will most definitely need this for the cake smash!
This was my first-ever attempt at making a bib.  I wasn't exactly sure what I wanted it to look like other than the 1.  The ruffle just sort of came to me as I got going.  I simply traced one of her bibs onto my fabric and went from there.  If I had more time I would make another one and take into account seam allowances.  This one fits but is just a wee bit smaller than I would like.  It will work though!

August 8, 2011

Giant Bow Ties as Photo Booth Props

Today I started making props for the party's photo booth.  First on the list were giant bow ties!  I got the inspiration from Grey Luster Girl.
One for Papa Bear, Mama Bear, and Baby Bear.
These are seriously SO easy!!  It's almost a no-sew project and you can put one together in 20 minutes or less. 
Materials:
- a fabric quarter
- piece of steam-a-seam
- fold over elastic (14" per tie)
- velcro

The How-To:

A fabric quarter was just the right amount of fabric for the biggest bow, so you will have some fabric left over if you make the mama or baby ties.   I'm going to give you the dimensions for the baby bow tie and you can adjust them  by 2 inches for the mama or 4 inches for the papa.

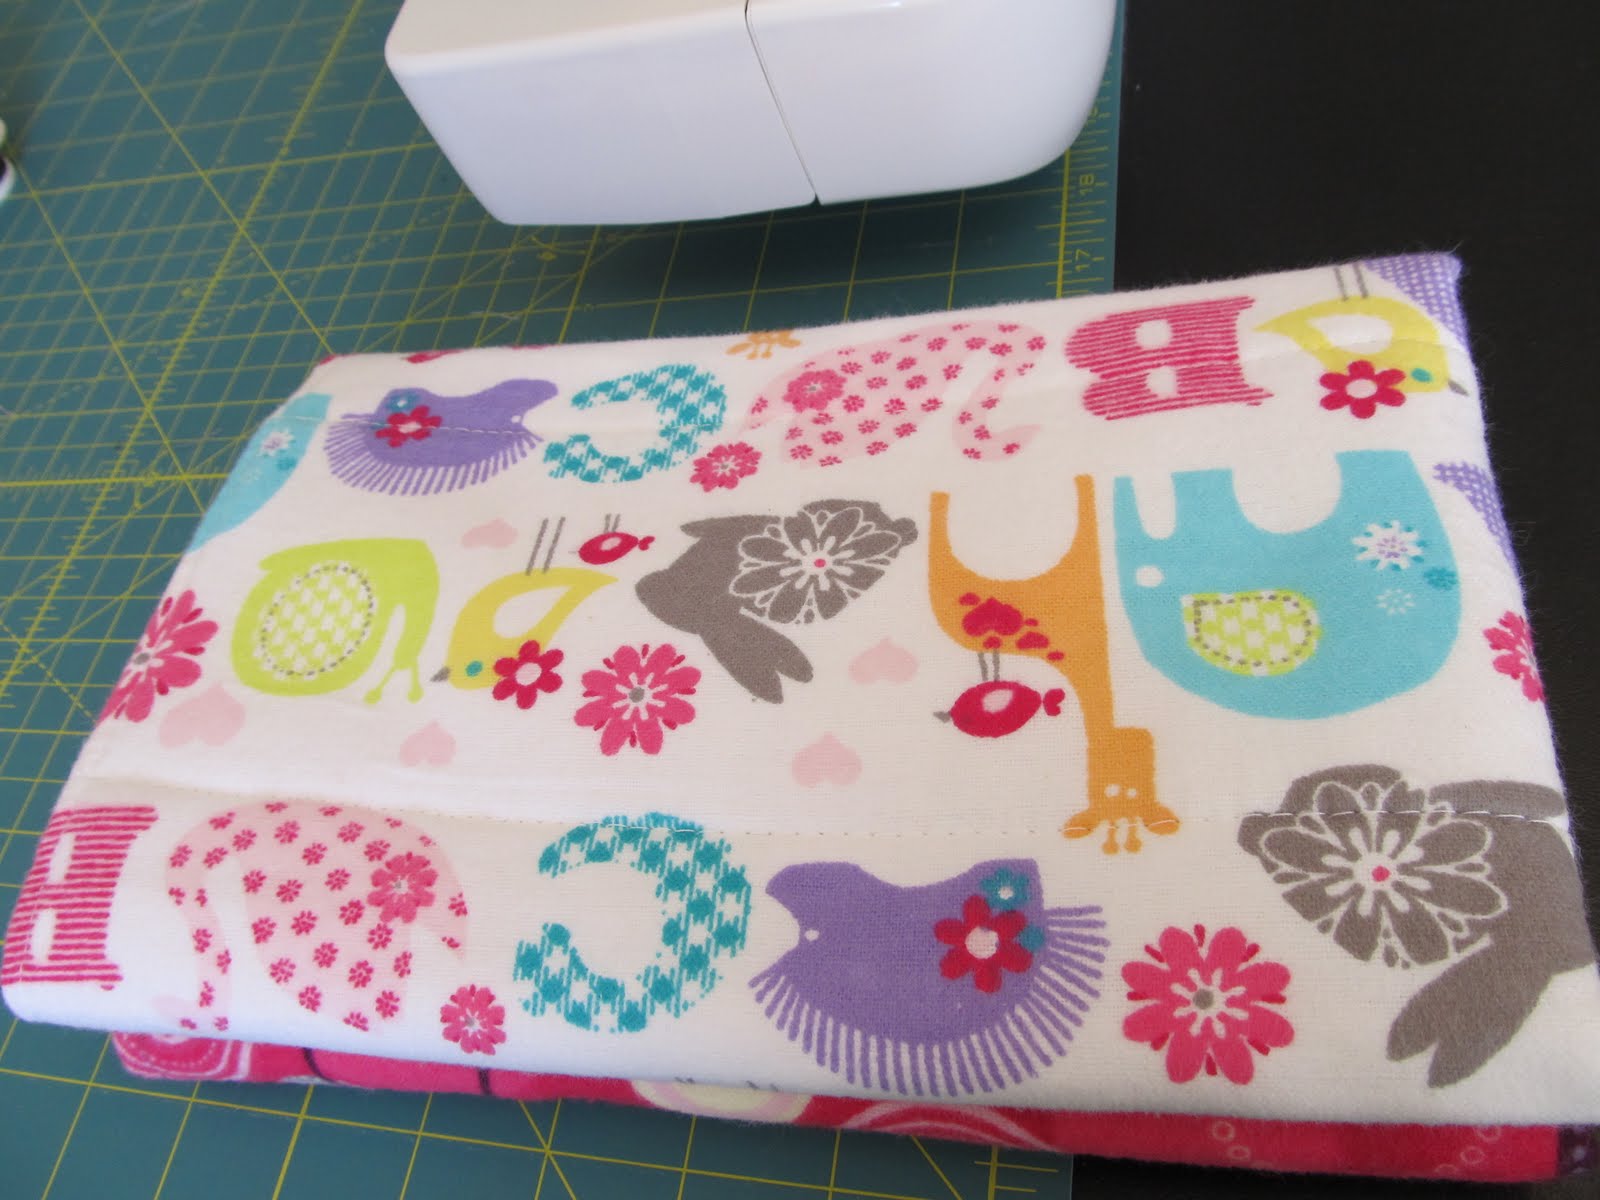
Step 1:  Iron your fabric quarter and cut a rectangle 10 1/2" X 9" and a square 3 1/2" X 3 1/2".
Step 2:  Cut a 3 3/4" X 9" piece of Steam-A-Seam

Step 3:  Take your large rectangle of fabric and iron the edges of the shorter sides over, toward the middle.  Then iron the edge of one of the longer sides toward the middle. 

Step 4:  Place your Steam-A-Seam in the middle of your fabric rectangle. 

Step 5:  Fold over the unfolded edge first and then the folded edge so your rectangle has a finished look.  Place a damp washcloth on the fabric and press your hot iron on top for 15 seconds.  Do this to the entire rectangle.  This will result in the fabric stiffening.

Step 6:  Sew along the short edges of the rectangle.

You are done with the main portion of your tie.  Now we will make the band that goes in the middle of the tie.  Grab the small fabric square you already cut.
Step 7:  Fold over the edges of 2 opposite sides.  Then fold in half, hamburger style, with right sides together.  Sew along the edge.
Step 8:  Turn inside out.  Take the main portion of the bow tie and fold accordion style.  Slip the band onto the middle and you are just about done!


Final Step:  Cut a piece of fold-over elastic to measure 14".  Sew a small piece of Velcro to each end and slip through the back side of your bow tie.


August 3, 2011

Header Design

I'm sure you've heard about Dana's header design contest over at Made, but if for some reason you haven't- check it out right away!  Hop on over to the flickr group and be inspired to join the contest or recreate one for your own blog.  Here is my entry:
She is celebrating 3 years of blogging so I thought it would be appropriate to include a time line in the design.  Happy Blogging!

August 1, 2011

Knotted Fabric Strip Banner


I've been seeing these types of banners all over the place!  I love them, so I made one for the big party

     If you would like to make one too, you will need the following materials:   
  • 1 yard of fabric (divide that by however many different colors you want)
  • 3 yards of thick string
  • scissors

Then just follow these steps:


A fun banner, perfect for lots of occasions.
Related Posts Plugin for WordPress, Blogger...